Mummy Crochet Amigurumi

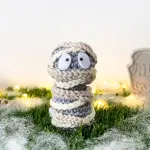
PinRicky the Mummy is part of my new no-sewing Halloween collection called BOWLOWEEN (Bowling + Halloween!): it’s a collection of Halloween characters that work as Bowling pins and the eyeball as Bowling ball.
You can find all the (free) patterns at this link.
Pin The pattern in this page is totally free, but it’s intellectual property of Elendipity.
You can use it and, of course, you can sell the final products you create, but you cannot sell the pattern or any alteration of the pattern.
You should also credit Elendipity (as pattern creator) whenever you create it, share it and/or sell it.
Feel free to tag me on my Instagram if you create it, I would love to see your works!!
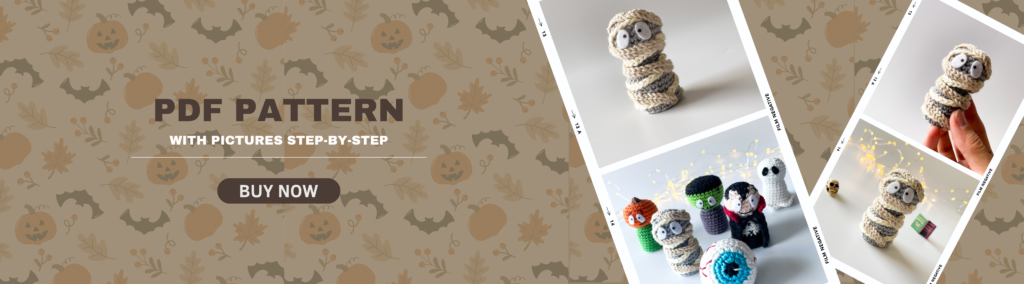
There is also an inexpensive ads-free pdf version of this pattern with 20 pages and over 25 photos to help you make the mummy step-by-step, you can buy it here.
Pin
Pin
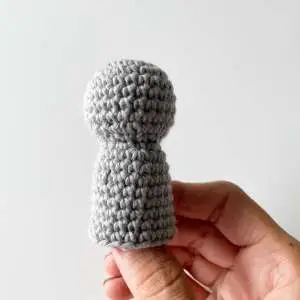
Pin This amigurumi is worked from the top to the bottom all in one.
You will begin from the head, decreasing to create the neck and then continuing with the bottom part of the body.
You will stuff the head and then you will finish stuffing part of the body at the end (in the pattern it will be specified when to stuff).
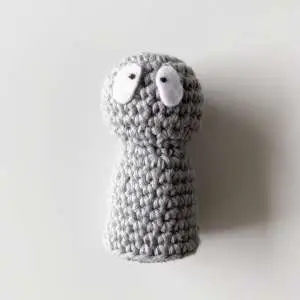
You will make and attach the eyes and then you will make and attach the bandages as last thing.
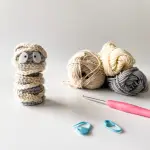
I used:
I bought the yarn at Hobbii.
Here below the list of the stitches (US terms) that you are going to use for this project.
Shall we start?
Let’s go!!
Here below you will find the free pattern with no pictures.
If you prefer, there is an ads-free pdf version of this pattern with 20 pages and over 20 photos to help you make the mummy step-by-step, you can buy it here.
START
With 3 mm crochet hook and the colour SG, create a MC and work R1 in the MC.
SC 6 (6)
* INC * x 6 (12)
* SC 1, INC * x 6 (18)
* INC, SC 2 * x 6 (24)
SC 24 (24)
* SC 2, DEC * x 6 (18)
* DEC, SC 1 * x 6 (12)
Now you will stuff the head
FLO: * SC 1, INC * x 6 (18)
* INC, SC 5 * x 3 (21)
SC 21 (21)
BLO: * SC 5, DEC * x 3 (18)
BLO: SC 18 (18)
* DEC, SC 1 * x 6 (12)
Now stuff slightly the top of the body (more or less between R12 and R15)
* DEC * x 6 (6)
Cut an end tail of about 10 cm and follow the video at this link to see how to close an amigurumi.
After you closed the last round, push R21 / R23 inwards so the amigurumi will stay up on its “feet”.
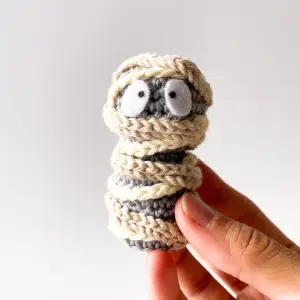
Pin You will create two different bandages: one with a lighter colour, underneath, to give the sensation that is like the original bandage, while the darker one, on top, will look dirtier.
If you are going to sew the bandages on the mummy, then you will need long initial and end tails, at least 20/30 cm each – like you will see in the instruction below.
If you are going to glue the bandages, then you will need just a short tail (10 cm) to secure the beginning and the end.
Here below you will find the free pattern with no pictures.
If you prefer, there is an ads-free pdf version of this pattern with photos to help you make the mummy step-by-step, you can buy it here.
With 3 mm crochet hook and with the colour V, leave a long initial tail (20 cm) and do CH 95.
Fasten off and cut a long tail (20 cm), then follow the steps for assembling later in the page.
With 3 mm crochet hook and with the colour B, leave a long initial tail (20 cm) and do CH 106.
Starting from the 2nd CH from your hook, SS 105 (105)
Fasten off and cut a long tail (20 cm), then follow the steps for assembling later in the page.
To know how to attach the bandages, follow the steps in “ASSEMBLING” down in the page, after the “EYES” paragraph.
I created the eyes with white felt and with a black marker to draw the pupil, then I glued them on the work, so these are the steps if you want to do the same.
Here below you will find the free instructions with no pictures.
If you prefer, there is an ads-free pdf version of this pattern with photos to help you make the mummy step-by-step, eyes included: you can buy it here.
STEP 1
On the felt, measure and cut a rectangle of 1.2 cm x 0.7 cm and then round off the corners.
STEP 2
Create a black pupil with a marker.
STEP 3
Now glue the eyes in position: between R5 and R7 of the head and 1/2 stitches apart.
Pin Let’s put the bandages on!
Here below you will find the free instructions with no pictures.
If you prefer, there is an ads-free pdf version of this pattern with photos to help you make the mummy step-by-step, bandages included: you can buy it here.
STEP 1
Take the lighter bandage and position it on the mummy using some pins to block it in place.
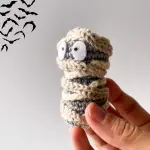
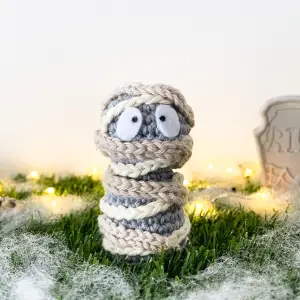
You can look at the final picture at the beginning or at the end of this pattern to have an idea on how to wrap it around.
STEP 2 – GLUE OPTION
If you are using glue, take the initial tail, insert it in a needle and simply hide the yarn inside. Cut it very close of where the needle came out. Repeat the same for the end tail.
After this, you will glue under the bandage, between the pins.
STEP 2 – SEWING OPTION
If you want to sew the bandages on, take the initial tail, insert it in a needle and start sewing the bandage on the mummy. Insert the needle between the chains (in and out the mummy body), blocking the bandage every 4/5 stitches.
Continue until you finish the initial tail, then repeat the same process with the end tail going backwards on the chains.
Then hide the yarn inside the body.
STEP 3
Repeat the same process (glue or sewing) with the darker bandage.
Then hide the yarn inside the body.
And HERE WE ARE: your Ricky the Mummy is done!
Pin
Pin I hope you enjoyed this Free Pattern Pin
I have other many patterns available that you can find at this link.
Don’t hesitate to contact me if you need any explanation for the pattern – you can comment below or write me at info@elendipity-com.stackstaging.com.
I also offer crochet lessons (both in person or online) if you need some help with crochet creations and reading patterns. You find all the info for the classes at this link.
Feel free to tag me on my Instagram if you create it, I would love to see your works!6
Happy Crocheting!
Hi, I’m Eleonora. I grew up in Milan and have been living in London since 2019. I left a corporate career to turn my lifelong passion for crafts into a full-time creative business. Creating with my hands has always been part of who I am – from crochet to sewing, from small handmade projects to full garments. I also have a soft spot for animals, especially cats. I started crocheting at a young age and later taught myself how to sew through books and online tutorials. Over time, I began experimenting with different techniques, patterns, and materials, discovering just how powerful and calming handmade creativity can be. That journey led me to share my knowledge online, first through YouTube and later through classes, patterns, and workshops. Today, I’m a crochet and embroidery teacher, helping others learn at their own pace and find confidence through making.
| Cookie | Duration | Description |
|---|---|---|
| cookielawinfo-checkbox-analytics | 11 months | This cookie is set by GDPR Cookie Consent plugin. The cookie is used to store the user consent for the cookies in the category "Analytics". |
| cookielawinfo-checkbox-functional | 11 months | The cookie is set by GDPR cookie consent to record the user consent for the cookies in the category "Functional". |
| cookielawinfo-checkbox-necessary | 11 months | This cookie is set by GDPR Cookie Consent plugin. The cookies is used to store the user consent for the cookies in the category "Necessary". |
| cookielawinfo-checkbox-others | 11 months | This cookie is set by GDPR Cookie Consent plugin. The cookie is used to store the user consent for the cookies in the category "Other. |
| cookielawinfo-checkbox-performance | 11 months | This cookie is set by GDPR Cookie Consent plugin. The cookie is used to store the user consent for the cookies in the category "Performance". |
| viewed_cookie_policy | 11 months | The cookie is set by the GDPR Cookie Consent plugin and is used to store whether or not user has consented to the use of cookies. It does not store any personal data. |