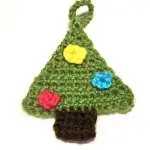
Christmas Tree – Crochet

PinAs you can see from my Christmas collection (you can found it here), I love creating for Christmas and I love Christmas Pin
I actually have to say that I started DIY projects exactly from Christmas ideas!
This year I decided to create something using crochet, an old passion that came back to my mind (and my hands!) recently.
I went on Pinterest and I searched for free patterns: I found many of them, but they didn’t have the size I wanted or the decoration I wanted; soooo, after some experiments (not all nice I have to admit Pin), I came out with my own pattern, which you can see below. A photo-tutorial step by step.
This pattern is totally free because I like sharing with everybody who wants to learn or improve.
You can use it and, of course, you can sell the final products you do, but please don’t sell the pattern (which is also illegal by the way… just saying 🤷♀️😂).
If you wish, tag me on my Instagram profile when you create some of them, I would be happy to see the results!!
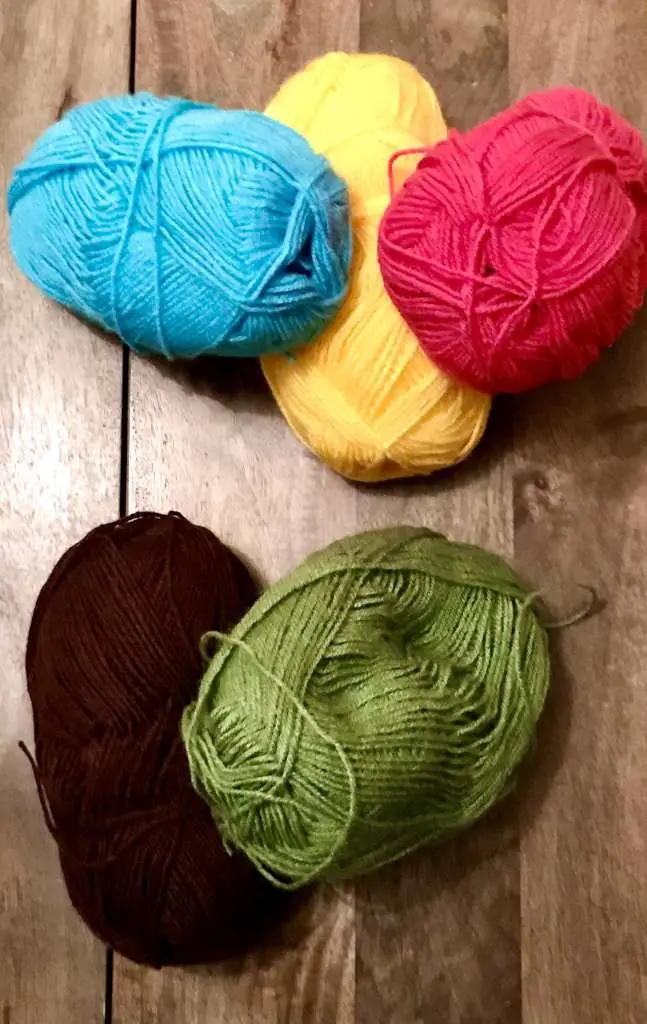
Firstly you should choose the yarns!
You can buy them in your favorite shop, but, since I’m writing this post in 2020 (world pandemic with shops closed 😢), I had to buy them online.
The type of yarn depends on which tree measures you want.
You will need:
My yarn is 100% acrylic.
I used a 2mm crochet hook, because I wanted my tree not too big, so I chose a yarn which was suitable for crochet hook between 2mm and 4mm.
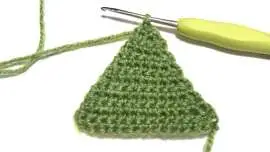
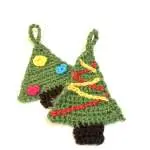
My tree is 60mm (width) x 73mm (height) excluding the loop.
Pin Here below the list of the stitches (US terms) we are going to use for this project.
Don’t worry, also a beginner can do it, it just asks a little bit of practice.
On YouTube you can find a lot of videos about how to create the 2TOG.
Shall we start?
Let’s go!!
Let’s begin with the tree (green part).
Follow the rows (at the end of each row you can find the stitch count in brackets):
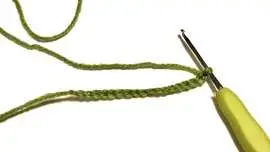
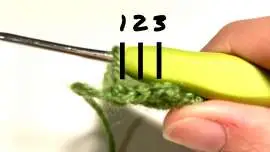
CH 18
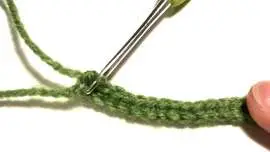
Pin SC in 2nd CH from the hook
SC in every other stitch until the end (17)
Pin CH 1, turn.
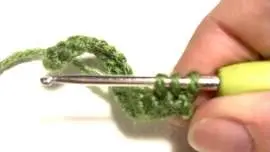
2 SCTOG, SC in the next 13 stitches, 2 SCTOG
(15)
Pin CH 1, turn.
SC in every stitch until the end (15)
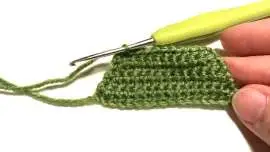
Alternate Row 2 and Row 3.
In one row you will decrease and in one row it will be normal single crochet all along.
(for exampe Row 4 will be the same of Row 2 and Row 5 will be the same of Row 3, etc)
Until you reach the count of 3 stitches.
Pin
Pin CH 1, turn.
2 SCTOG, SC 1 (2)
CH 1, turn.
1 SCTOG (1)
CH 1, turn.
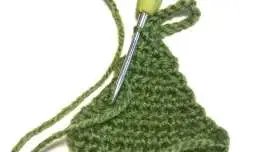
SS in the last stitch remaining.
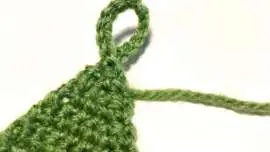
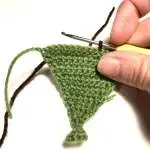
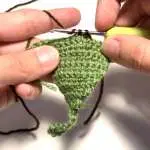
Don’t cut the yarn and continue with the loop.
Pin 12 CH
SS in the first CH
SS in the previous SS (the one made in row 17)
Then cut the thread, fasten off and weave the ends in.
Pin
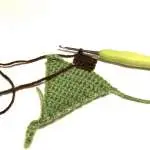
Pin Turn the tree upside-down.
Count 6 stitches from the right and insert the hook.
Take the brown colour from the back of the tree and proceed as follows:
CH 1
*SC 5, CH 1 and turn* starting from the 7st from the right.
Repeat * for 4 rows
Fasten off and weave the ends in.
Pin
Pin
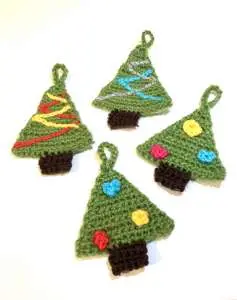
Pin Now that you finished your tree, you can decorate it as you wish.
Here below I will show you how to decorate the tree with two different methods, 1. a sort of “Christmas baubles” and 2. a sort of “Christmas Tinsel“, always using crochet.
Pin START:
Option 1:
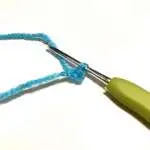
Magic Ring (MR) and then work R1 in it.
Option 2:
CH 2 and then work R1 in the first CH.
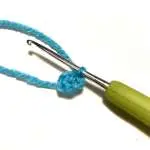
Pin R1:
SC 4 in the MR or in the first CH
Close with a SS in the first SC
Pin Create as many baubles as you want to put on tree. Here below I will show you how to attach them to the tree.
Let’s start with deciding the position of our Christmas baubles.
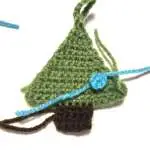
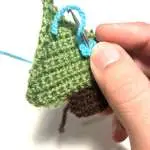
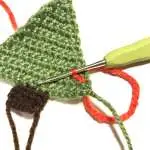
Once you did that, take the crochet from the back side of the tree and make it pass in the hole of the Christmas bauble (see image).
Take one of the thread of the Christmas baubles you will find in the right side and make it pass to the back side with the crochet.
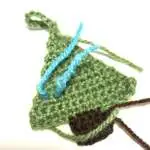
Now do the same with the second thread
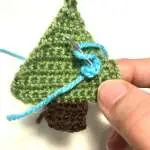
When you turn the tree you will see the two threads.
Tie a knot to block the Christmas bauble.
Pin
Pin
Pin
Pin
Pin Now you can attach the other Christmas baubles if any.
Pin
Pin
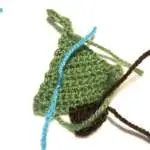
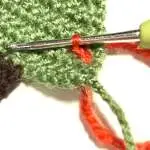
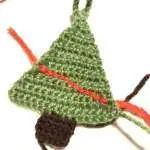
Pin Insert the crochet from the front side of the tree, take the thread which will be behind the tree and bring in the front side.
Continue like this creating a SS every time.
Pin
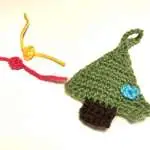
Pin This will be the result, front and back and all together!!
Pin
Pin
Pin Now you can hook them directly on your Christmas tree, you can create a garland and hook them in the house.
One thing I like to do before hooking is blocking them!
There are many tecniques to block crochet projects; in this case I used some water-based glue on the back of the tree.
I would suggest watching this video, where you can understand better how to do it.
ENJOY and MERRY CHRISTMAS!!!
Hi, I’m Eleonora. I grew up in Milan and have been living in London since 2019. I left a corporate career to turn my lifelong passion for crafts into a full-time creative business. Creating with my hands has always been part of who I am – from crochet to sewing, from small handmade projects to full garments. I also have a soft spot for animals, especially cats. I started crocheting at a young age and later taught myself how to sew through books and online tutorials. Over time, I began experimenting with different techniques, patterns, and materials, discovering just how powerful and calming handmade creativity can be. That journey led me to share my knowledge online, first through YouTube and later through classes, patterns, and workshops. Today, I’m a crochet and embroidery teacher, helping others learn at their own pace and find confidence through making.
| Cookie | Duration | Description |
|---|---|---|
| cookielawinfo-checkbox-analytics | 11 months | This cookie is set by GDPR Cookie Consent plugin. The cookie is used to store the user consent for the cookies in the category "Analytics". |
| cookielawinfo-checkbox-functional | 11 months | The cookie is set by GDPR cookie consent to record the user consent for the cookies in the category "Functional". |
| cookielawinfo-checkbox-necessary | 11 months | This cookie is set by GDPR Cookie Consent plugin. The cookies is used to store the user consent for the cookies in the category "Necessary". |
| cookielawinfo-checkbox-others | 11 months | This cookie is set by GDPR Cookie Consent plugin. The cookie is used to store the user consent for the cookies in the category "Other. |
| cookielawinfo-checkbox-performance | 11 months | This cookie is set by GDPR Cookie Consent plugin. The cookie is used to store the user consent for the cookies in the category "Performance". |
| viewed_cookie_policy | 11 months | The cookie is set by the GDPR Cookie Consent plugin and is used to store whether or not user has consented to the use of cookies. It does not store any personal data. |