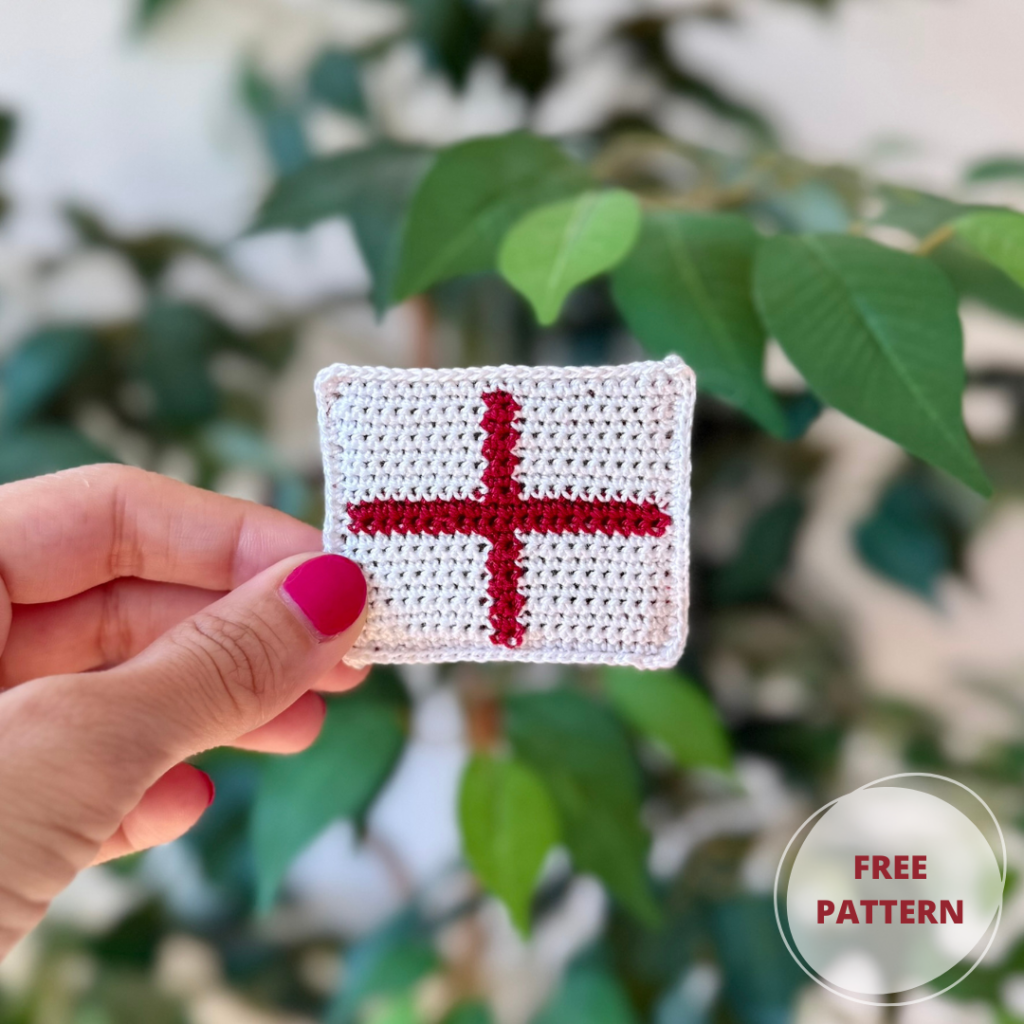

Crochet England Flag Brooch

Pin

Behind the Design

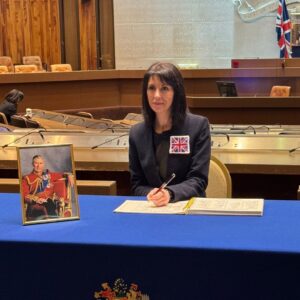
The very first flag brooch I made was the Union Jack one (see picture here), designed for my British citizenship ceremony – a handmade piece to mark a day that meant so much to me.

But with the World Cup coming up in 2026, I started thinking about flag brooches for the football teams too. My home country, Italy, didn’t qualify this time – so I decided to get behind England instead, with a brooch of the St George’s Cross.

This one is worked exactly like the Union Jack brooch, just with a thinner yarn – so it comes out a touch smaller. And now I’m sharing the free pattern, so you can wear your England colours with pride too – whether you’re cheering on the team or simply love a handmade touch on your jacket.

Pattern Information

The pattern on this page is completely free, but it remains the intellectual property of Elendipity. 

You’re welcome to use it and, of course, to sell any finished items you make from it – but you cannot sell the pattern itself, or any altered version of it. You also can’t share it for free as if it were your own; if you’d like to point others to it, please link back to this blog post rather than copying the pattern elsewhere.

It would also be lovely if you could credit Elendipity as the pattern designer whenever you make, share or sell your creations.

And please do tag me on my Instagram if you make one – I’d love to see your work!

AI Use

I’d kindly ask you not to upload this pattern to any AI tools to help you follow the instructions. You might not realise it, but by doing so you could be allowing the AI provider to use it as a basis for other patterns – which essentially means taking work away from creators like me, who put real heart and soul into designing patterns that actually work and are tested by me and other humans. If you need any help with the pattern, I’d be more than happy to support you – just send me a message here.

Pin
Pin
Pin

Materials

I used:

  • Crochet Hook: 1.5mm
  • Hobbii Rainbow Lace (Yarn weight for substitutions: Lace): colours n. 59 (Dark Red) / n. 001 (White) – small amount of each 
  • 1 brooch pin (35 mm)
  • Scissors
  • Darning needle to weave ends
  • Sewing Needle and Sewing thread (for the brooch pin)
  • Small piece of plastic canvas
  • Optional, but recommended: Stitch Markers

You can find the Hobbii Rainbow Lace at this link, if you want to find any yarn substitution you can use the website yarnsub.com.

One very good substitute is Essential Crochet from Rico Design.

Measurements

With the yarn I used, this brooch measures approximately 6 cm x 5 cm.

You can use any yarn you like, but bear in mind that a different yarn will change the finished size. For example, the UK flag brooch I made was worked in Cotton 8/4 (3 ply) and measures approximately 9 cm x 8 cm.

How To

The England flag brooch is worked in two panels (front and back).

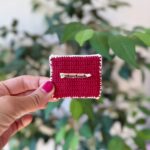
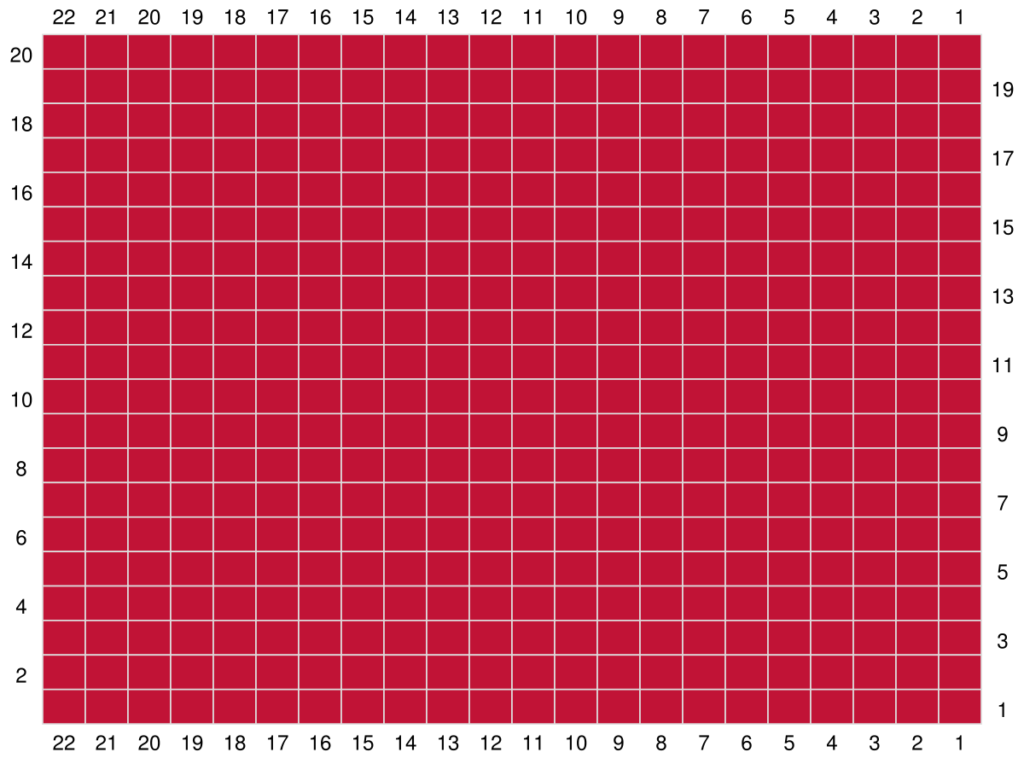
The front panel has the flag, and the back panel is in a plain colour of your choice (I went for dark red).

The front panel is worked in rows from the bottom up, using a technique called tapestry crochet. I used a separate bobbin for each colour, to avoid carrying the yarn across and making the work too bulky.

Once you’ve completed the two panels, you’ll sew the brooch pin onto the back panel. Then, on the other side of that same panel, you’ll sew on the piece of plastic canvas.

After this, you’ll position the front and back panels together – with the brooch pin on the outside, and the wrong side of the front panel facing in.

Then you’ll crochet all the way around to close it.

I’ve recorded a video tutorial so you can follow the process easily – you’ll find it linked below. It’s based on the UK flag brooch, but the process is exactly the same.

Terms

Here below the list of the stitches (US terms) that you are going to use for this project.

  • CH = Chain
  • SC = Single Crochet
  • st/sts = Stitch / Stitches

Shall we start? 

Let’s go!!

Pattern

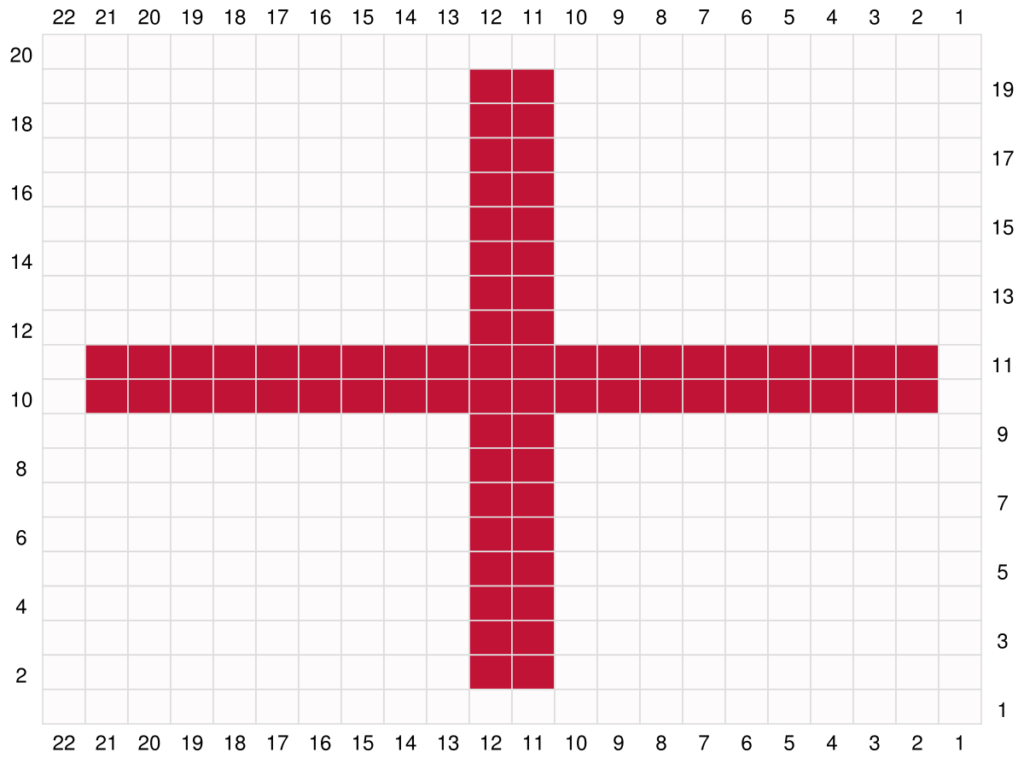
The pattern is given as a chart, which you should follow from the bottom right (if you’re right-handed) or the bottom left (if you’re left-handed).

The chart is numbered with a 1 in the bottom right corner, but if you’re left-handed you can follow the same chart – just start from the bottom left corner instead.

START

You’ll see the charts below, but for both panels you’ll start with CH 23.

Starting in the second chain from the hook, work the first row of the chart, which has 22 SC.

Begin the front panel in white, and the back panel in the colour you chose for it (I used dark red).

One important thing to mention: when you finish the front panel, don’t cut the yarn and don’t fasten off – you’ll need it later to assemble.

For the back panel, though, you can cut the yarn, fasten off and weave in the ends.

FRONT PANEL CHART

Pin

BACK PANEL CHART

Pin

ASSEMBLING

Once you have both panels, I recommend blocking them so they end up the same shape.

After that, please follow the video tutorial – linked here, or just below on this page – to see how to assemble the brooch.

As said before, the tutorial is based on the UK flag brooch, but the process is exactly the same.

CONGRATULATIONS!

Your brooch is finished!

I hope you enjoyed this free pattern. I have lots of other patterns available, which you can find at this link.

Don’t hesitate to get in touch if you need any help with the pattern – you can leave a comment below or send me a message here.

I also offer crochet lessons, both in person and online, if you’d like some help with your crochet or with reading patterns. You’ll find all the details at this link.

And please do tag me on Instagram if you make one – I’d love to see your work!


Happy Crocheting! 


Leave a Comment

Your email address will not be published. Required fields are marked *

Scroll to Top
Share to...